Setting up-vRealize Automation 7
We’ve got vRA installed and thats a good start. Our next step is to
login to the portal and start doing some configuration. Go to
https://vra-appliance-name-orIP and enter the administrator login that
you specified during your install. Unlike prior versions of vRealize
Automation, no domain vsphere.local domain suffix is required to login.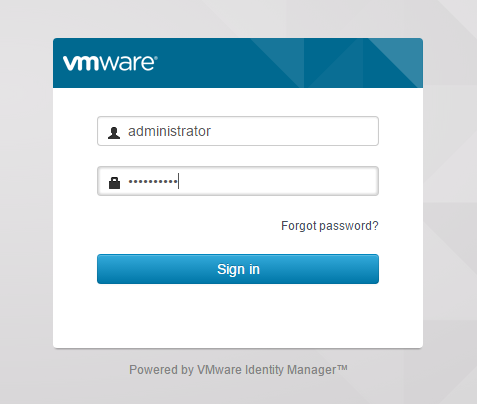
To start, Lets add some local users to our vSphere.local tenant. Click on the vsphere.local tenant.
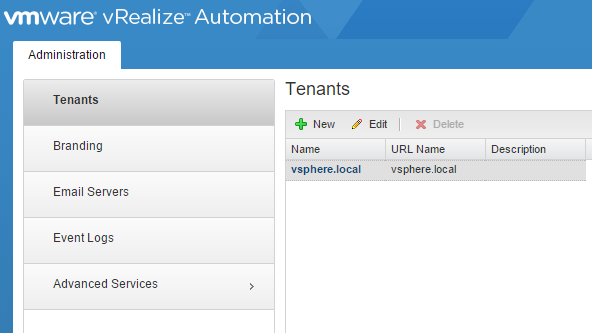
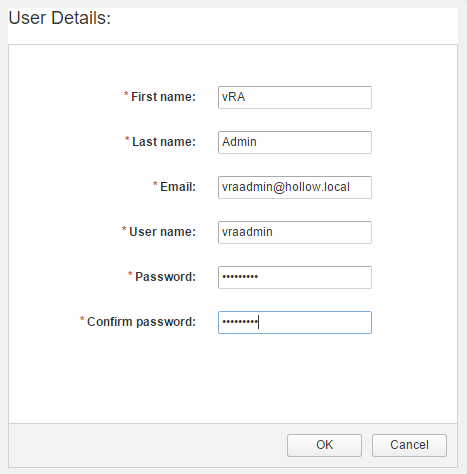
Click on the “Local users” tab and then click the “New” button to add a local account. I’ve created a vraadmin account that will be a local account only used to manage the default tenant configurations.
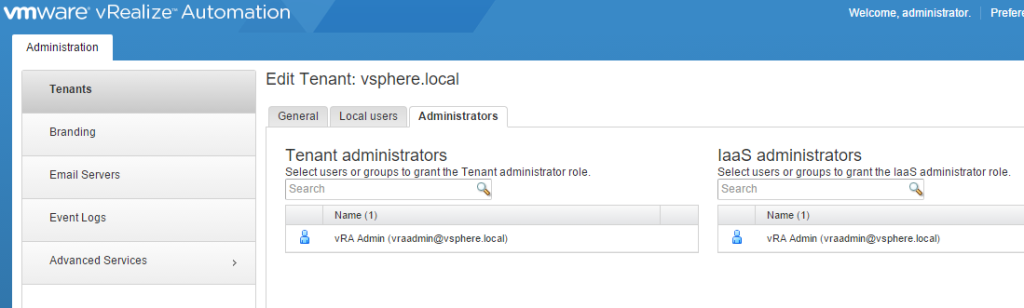
Click the Administrators Tab and add the account you just created to the Tenant Admins and IaaS Admins groups. Click Finish.
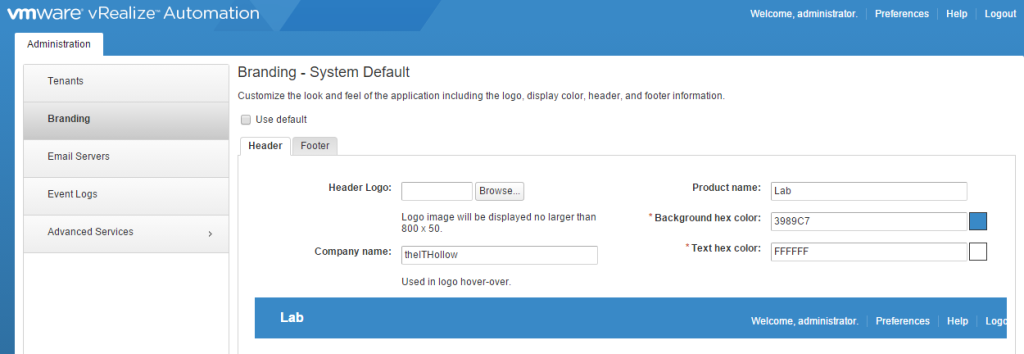
Click on the Branding Tab. If you want to change any of the look and feel of your cloud management portal, uncheck the “Use default” check box and upload headers, change colors to fit your needs.
Click on the Email Servers tab.
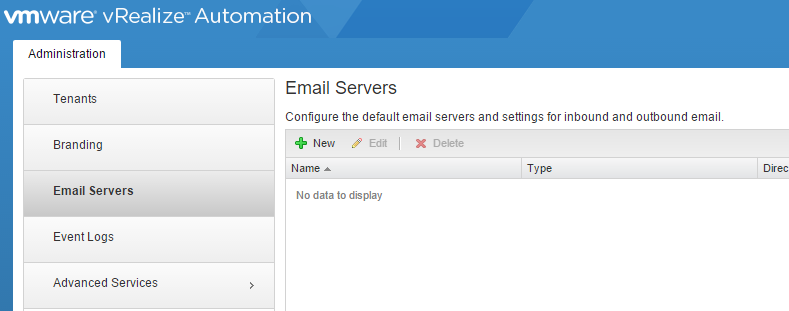
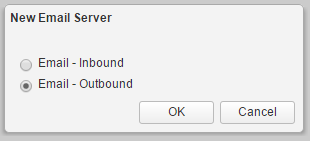
Click the “New” button to add your mail server. I’m adding an outbound server only at this time.
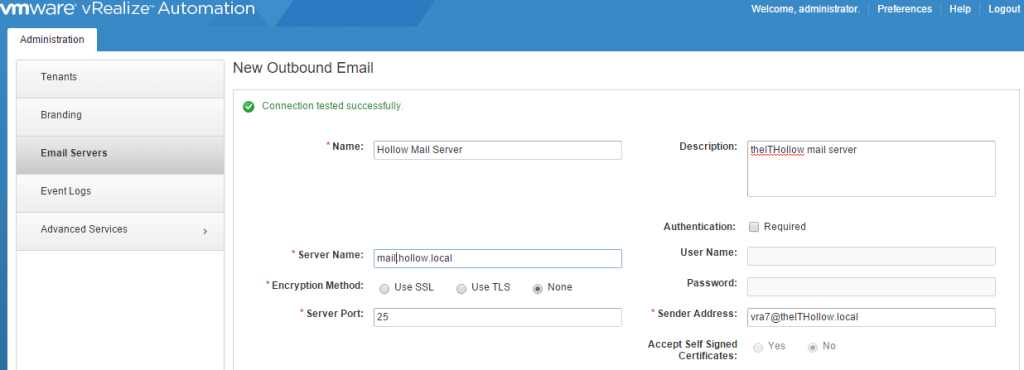
Add the information for your mail server and click the “Test Connection” button to ensure it works.
Log out of the portal and log back in as the new tenant administrator account.
To start, Lets add some local users to our vSphere.local tenant. Click on the vsphere.local tenant.
Click on the “Local users” tab and then click the “New” button to add a local account. I’ve created a vraadmin account that will be a local account only used to manage the default tenant configurations.
Click the Administrators Tab and add the account you just created to the Tenant Admins and IaaS Admins groups. Click Finish.
Click on the Branding Tab. If you want to change any of the look and feel of your cloud management portal, uncheck the “Use default” check box and upload headers, change colors to fit your needs.
Click on the Email Servers tab.
Click the “New” button to add your mail server. I’m adding an outbound server only at this time.
Add the information for your mail server and click the “Test Connection” button to ensure it works.
Log out of the portal and log back in as the new tenant administrator account.


Comments
Post a Comment